6x4 Dual Alternator Install
Table of Contents
Kit required
Before getting into the specifics, lets cover the bits and pieces that was used & required to complete this installation.
- Rapid Inflation Systems High Mount Alternator Kit. This is a High Mount Alternator kit suitable for VDJ 76 78 79 Series LandCruisers. Installation manuals were provided: High Mount Alternator Installation HOWTO and Intake pipe Installation HOWTO.
- High Output 240Amp 12v Alternator to suit Toyota LandCruiser VDJ70 & 200 Series
- WELDING CABLE COPPER D/INSUL - 95mm². Running the cable from the engine bay alternator to the canopy is +7m and need to ensure that there will be no voltage drop over those lengths.
Why a dual alternator install?
First - our setup is a bit different to most others, so worth pointing that out. We have a 2014 Trakmaster Caravan which has a traditional 240v input into the van but no central inverter to power the 240v circuit. So we had to make a couple of choices - either not use 240v when camped out in the bush, use a generator, or … figure out a way to get the 48/240v setup in the car to provide somewhat reliable power to the van. Given I wanted 240v in the car to be available and it has plenty of power per se.. making the car the ‘battery’ that could provide the van power made sense.
However, the bigger problem is to ensure that we can keep the battery banks charged up… so we needed something different. The choice we landed on was to install a secondary alternator and have that dedicated to charging the 48/240v setup in the canopy. The original 48/240 setup I had, used a Safiery 3kw Scotty AI, which is rated to a 250 amp alternator… so that’s what we went with. The intent is to maximise charging rate when driving reducing the need for using a generator. It does not remove the need to use a generator at times, but that depends a bit on the type of camp and travel that you are doing.
For example, in the 2025 winter season we were camped out from June to September south of Hotham in the alpine region in Victoria Australia… and over the weekends up skiing we did not get to drive that much so did not get to charge the battery banks with the normal alternator charging (1000-1600 watts max - at best…) and would need to occasionally then use a generator to charge. Especially when camped out for several days.
Anyways, that is a bit of the background… so lets cover the installation
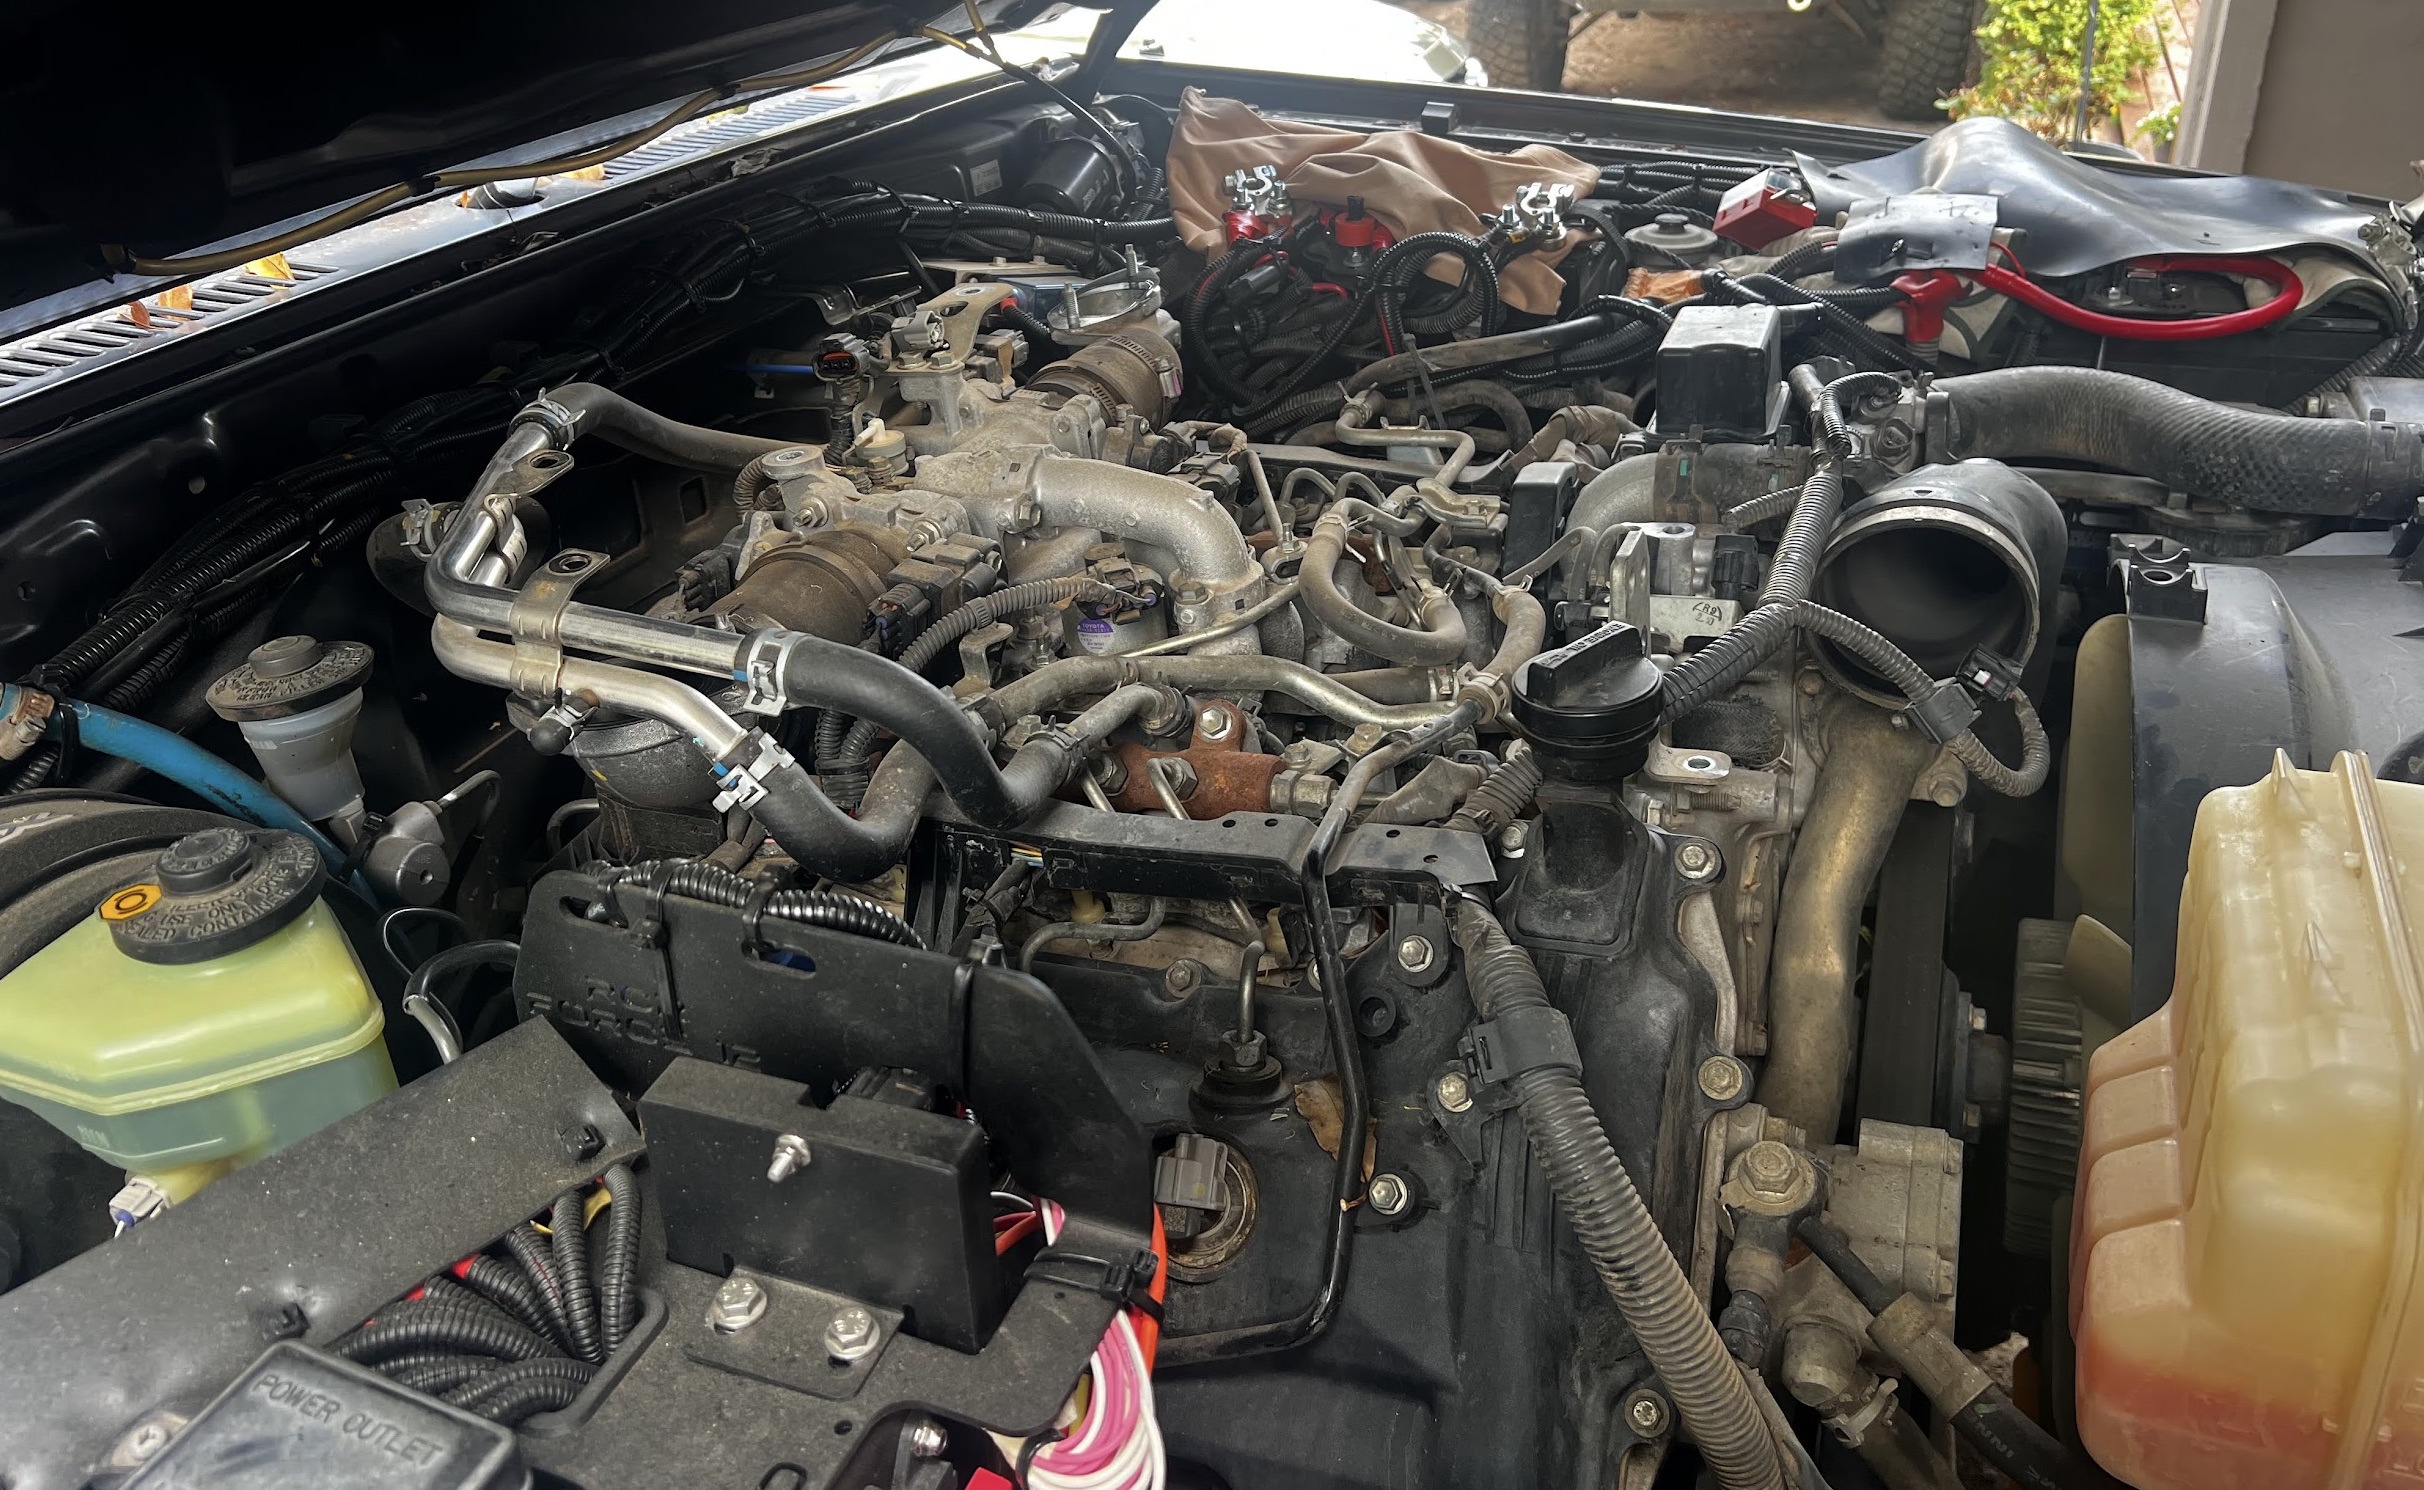
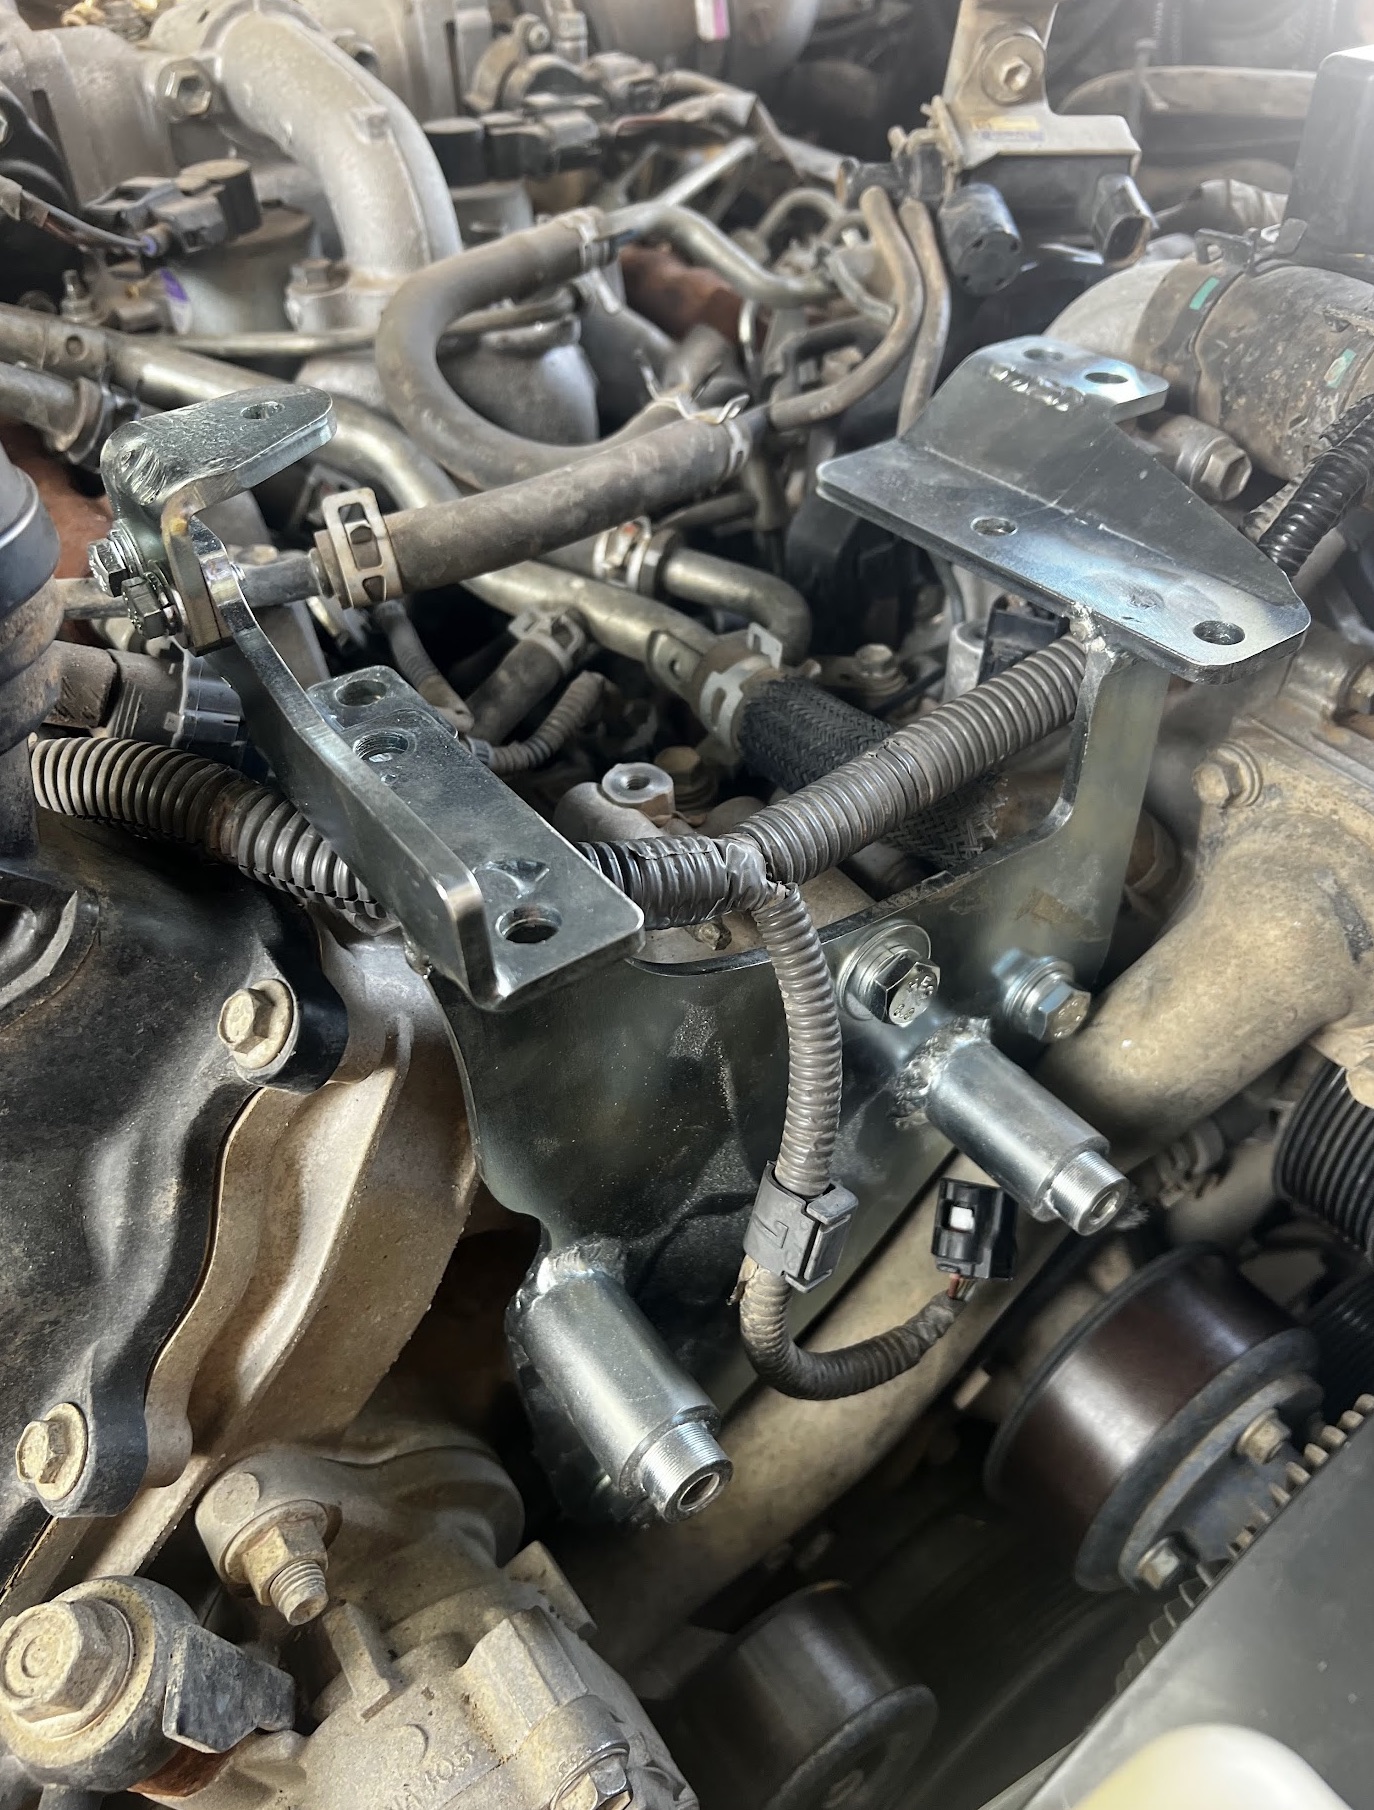
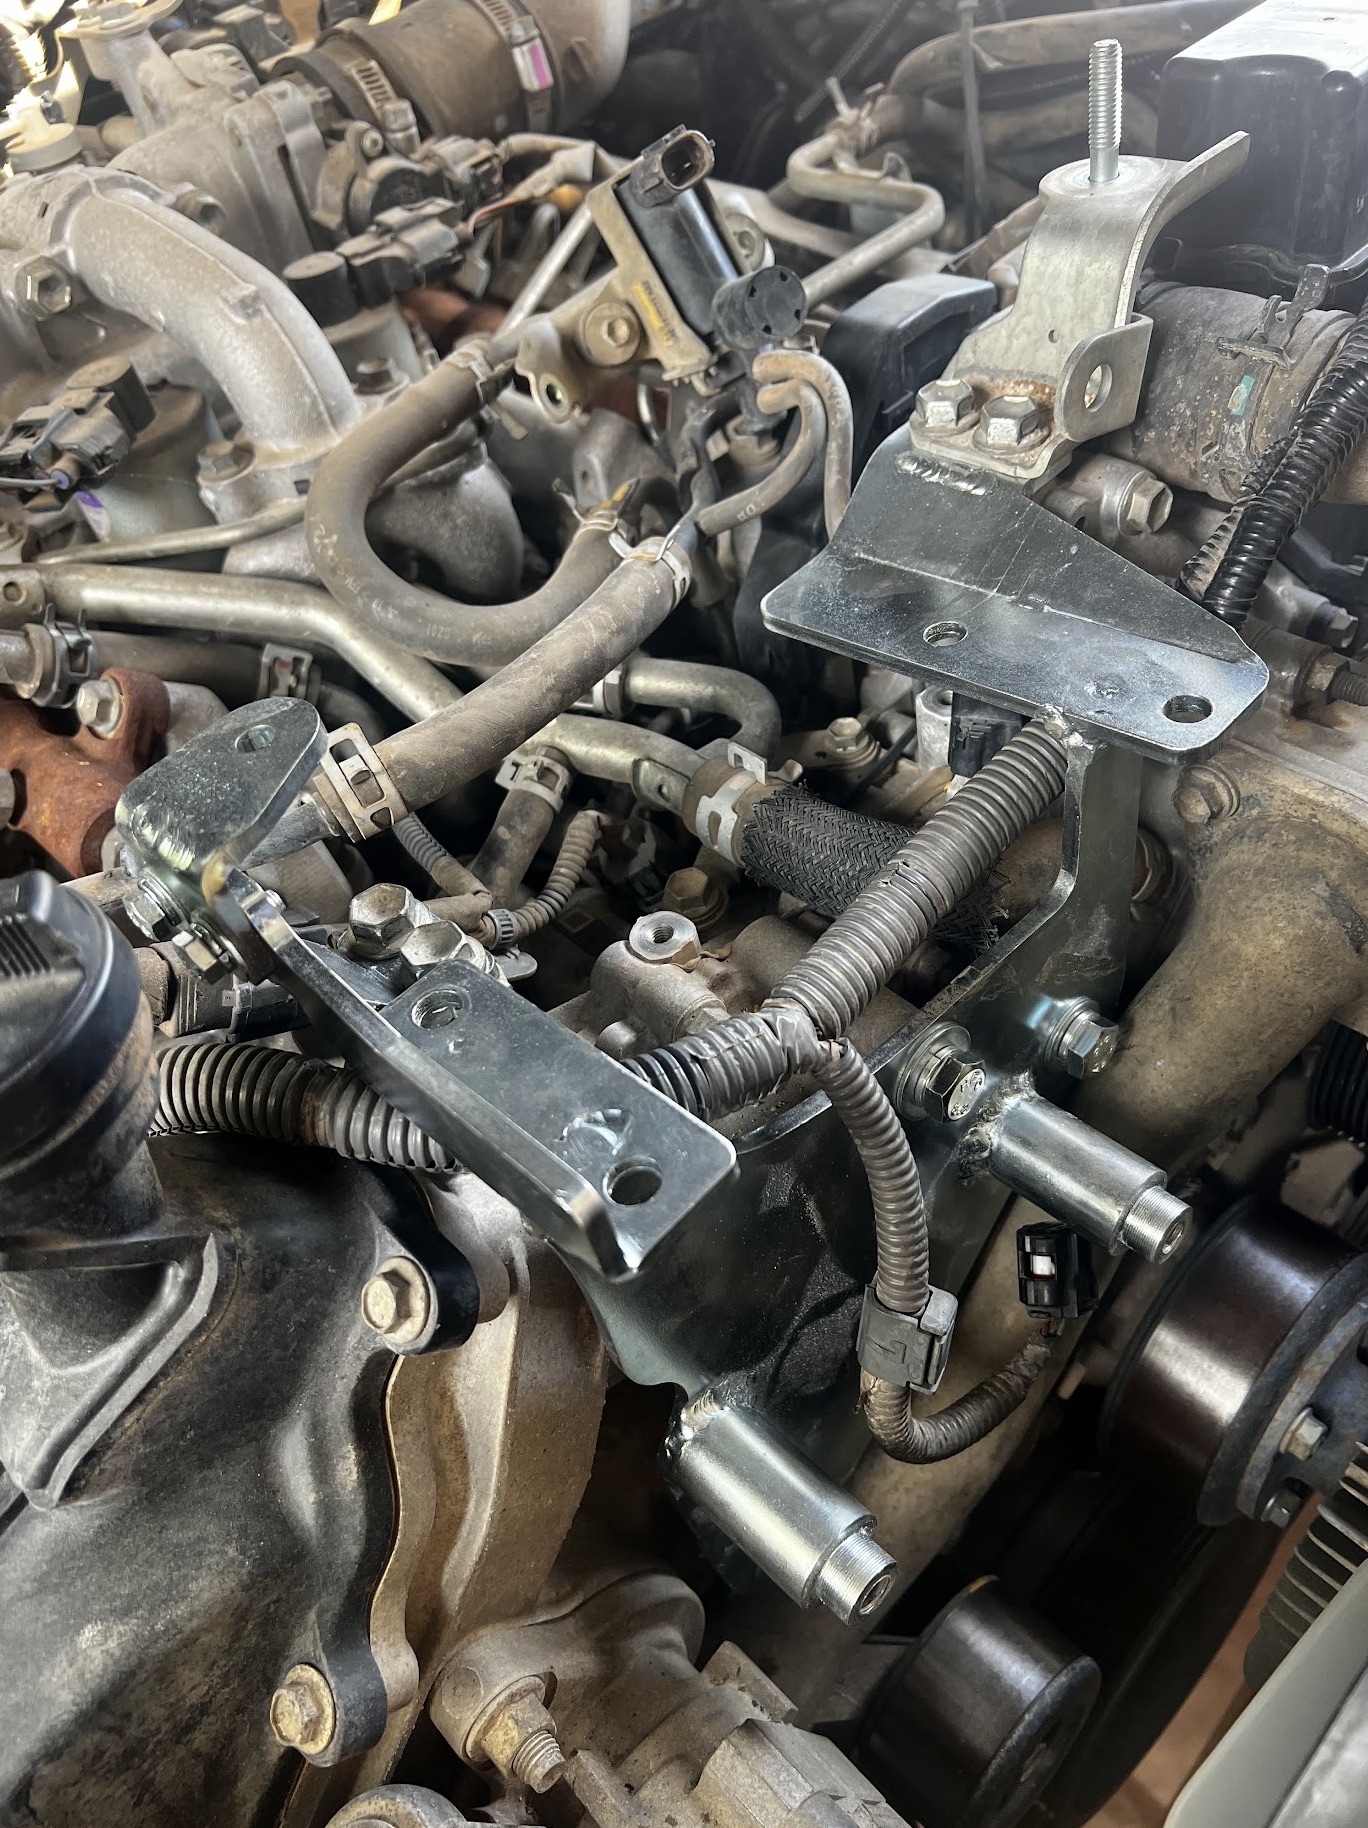
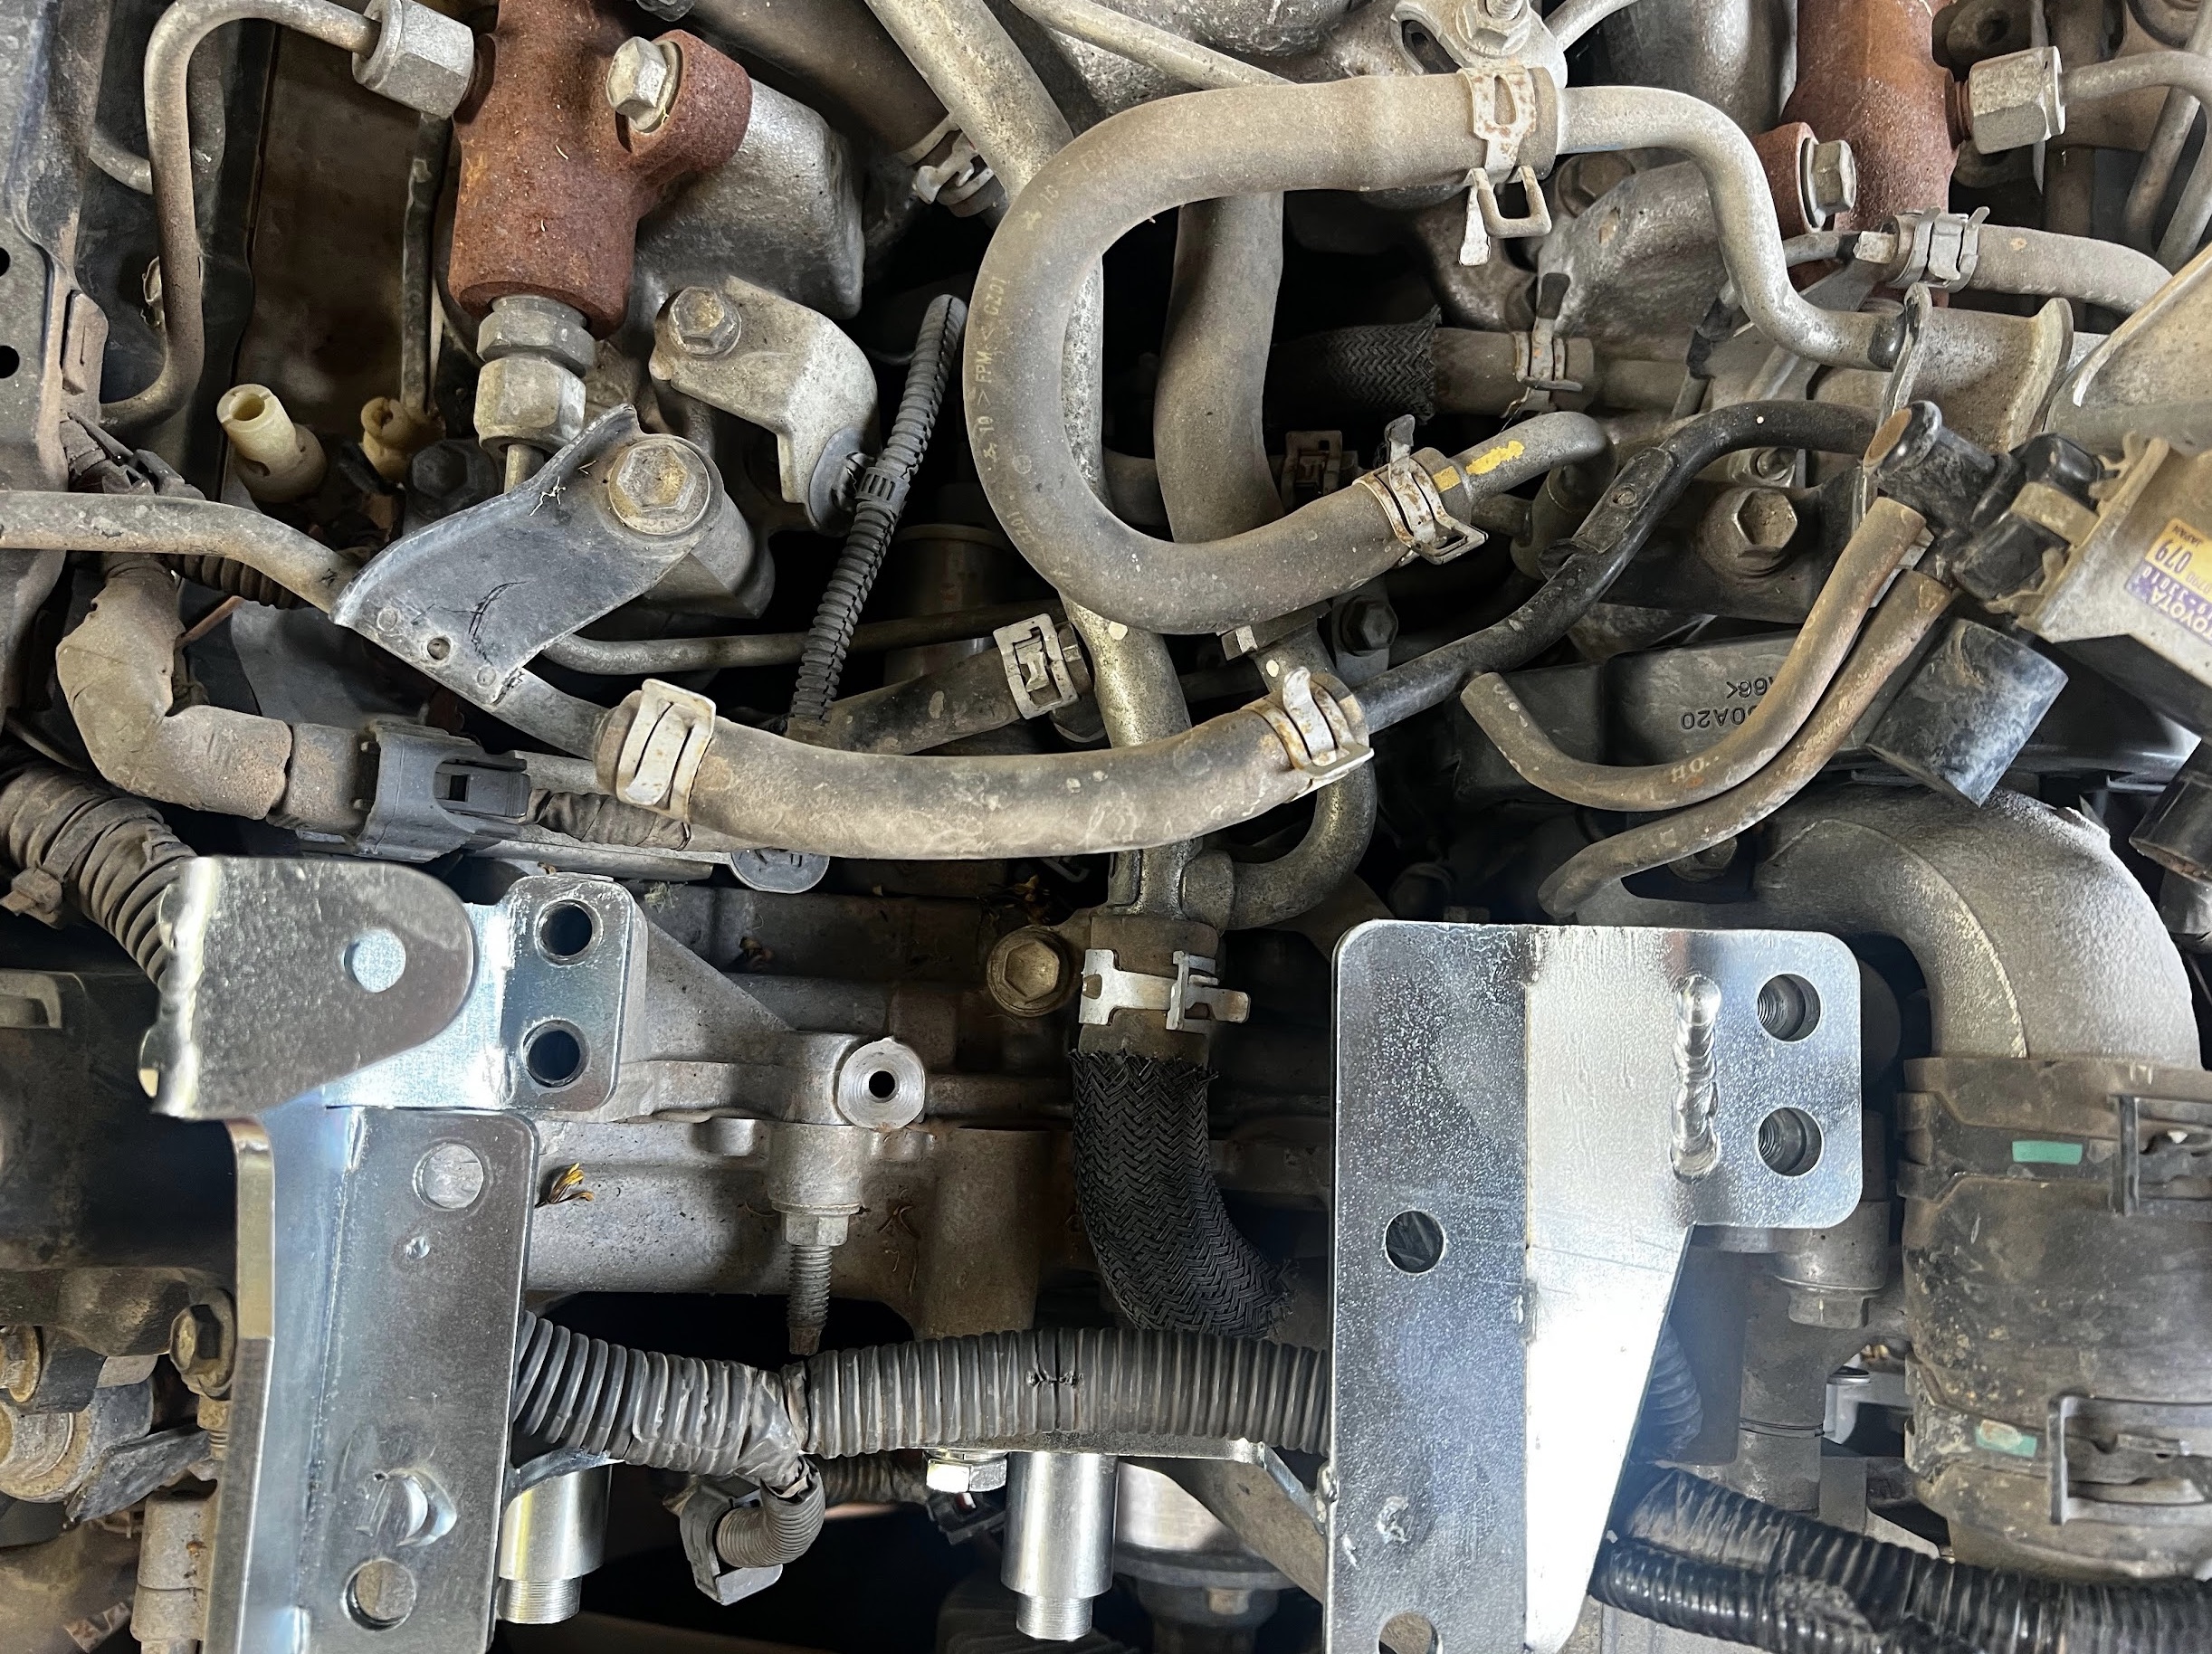
Day 1 - Getting the basic stuff into the engine bay
sdfsdfsdfdsf
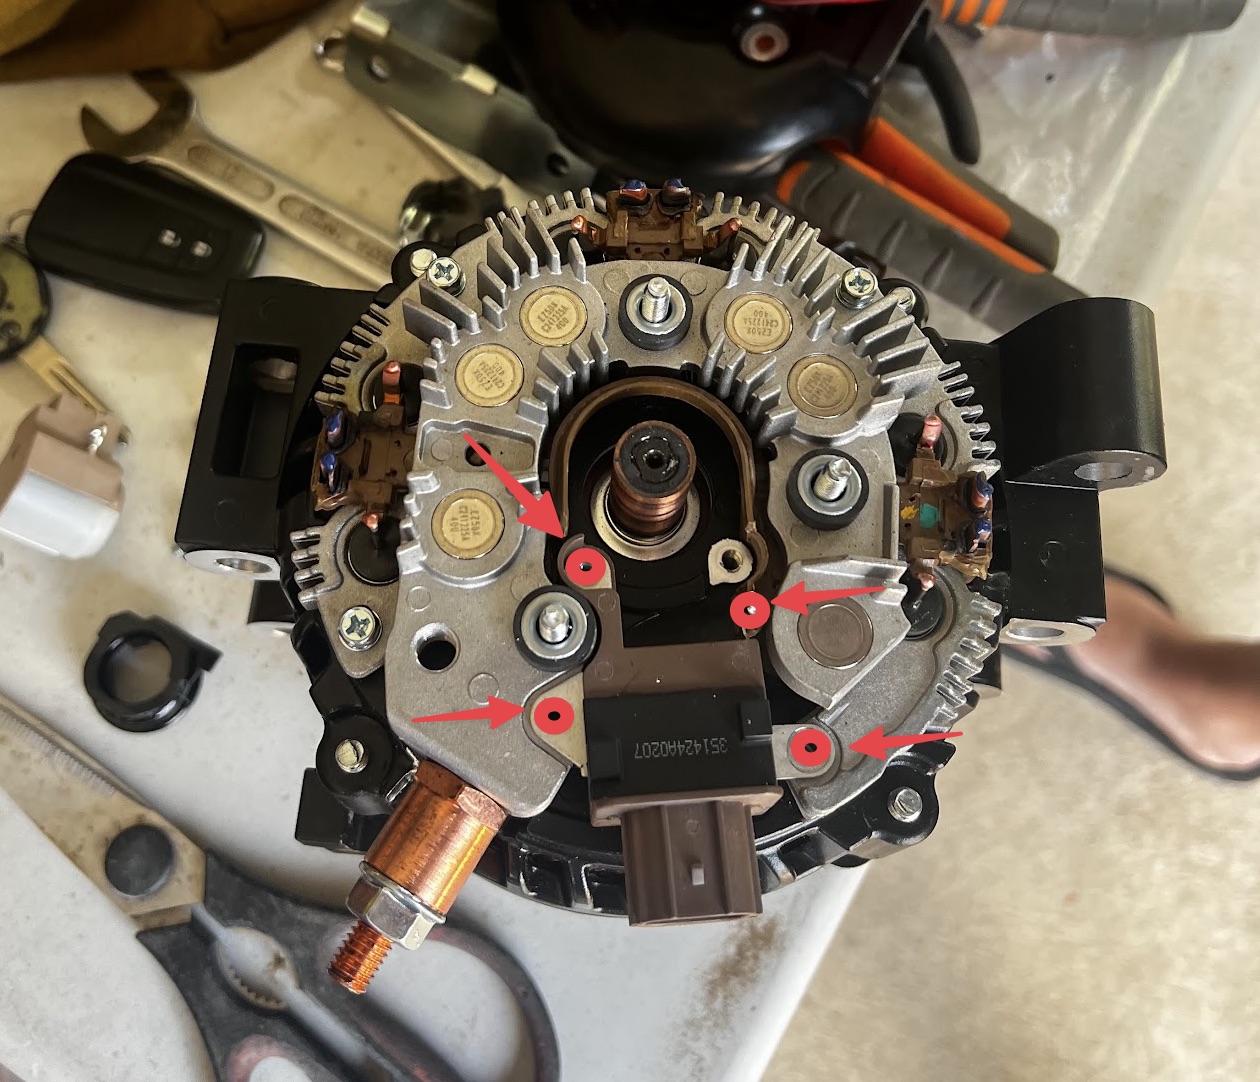
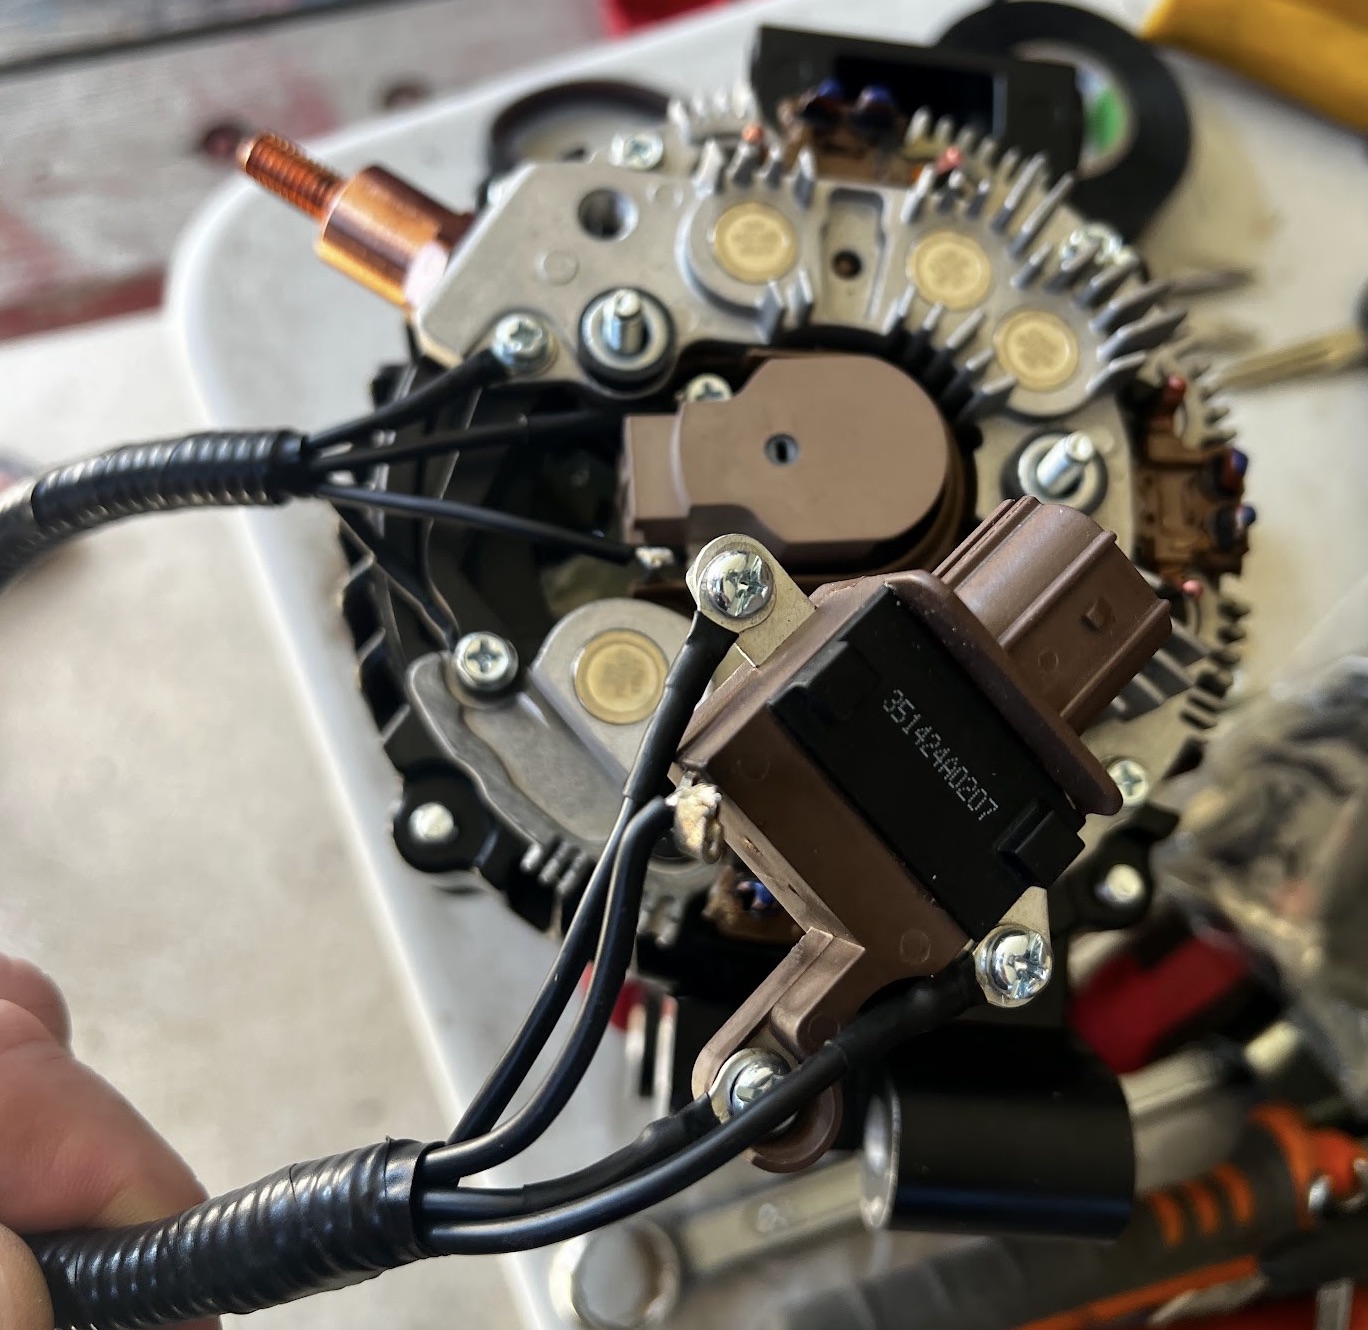
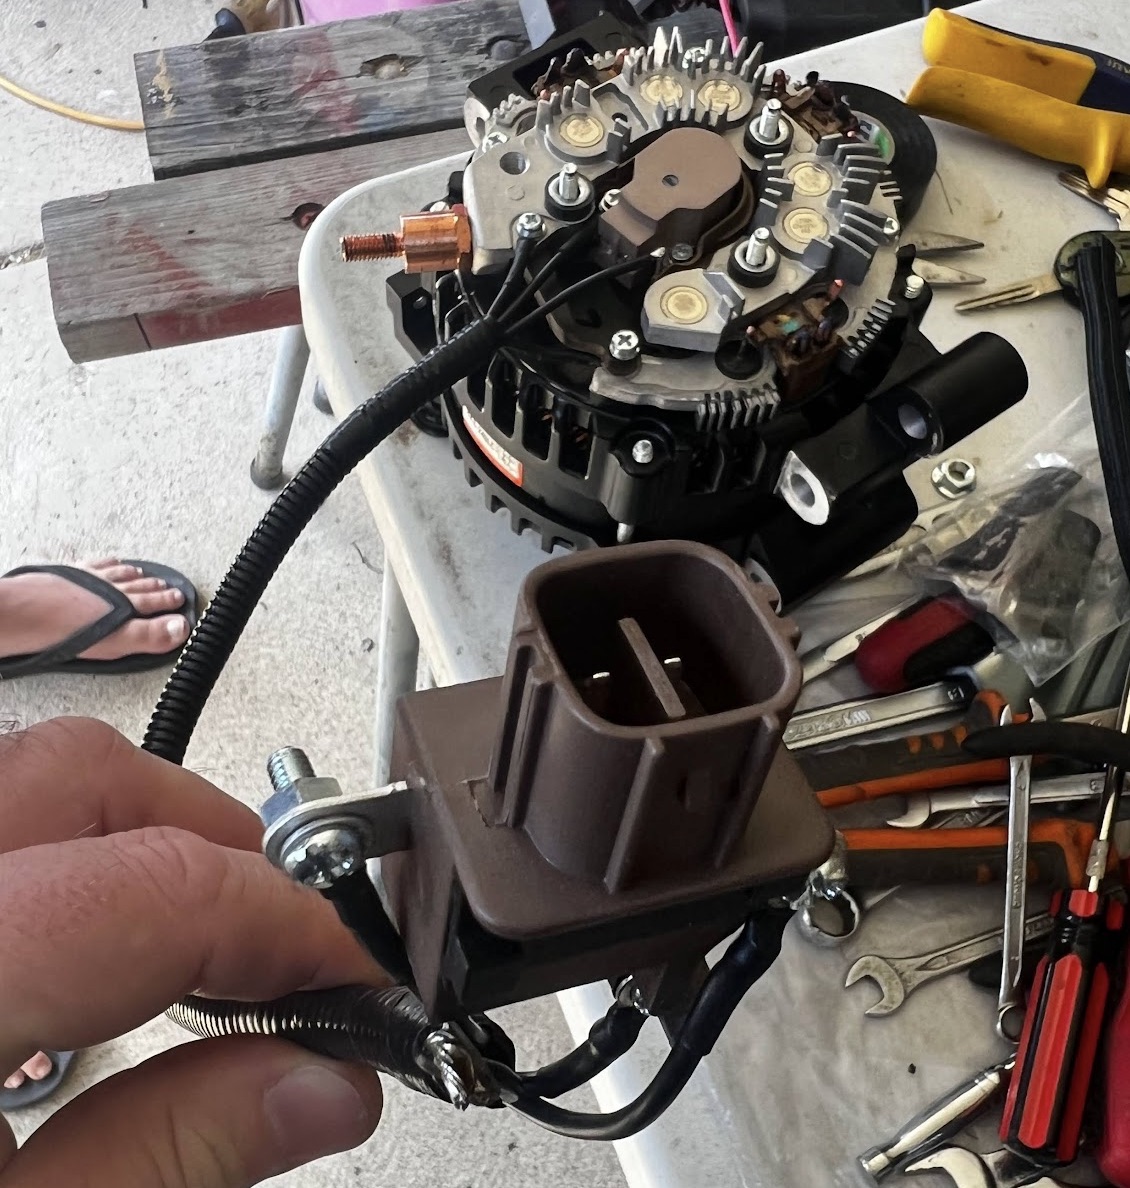
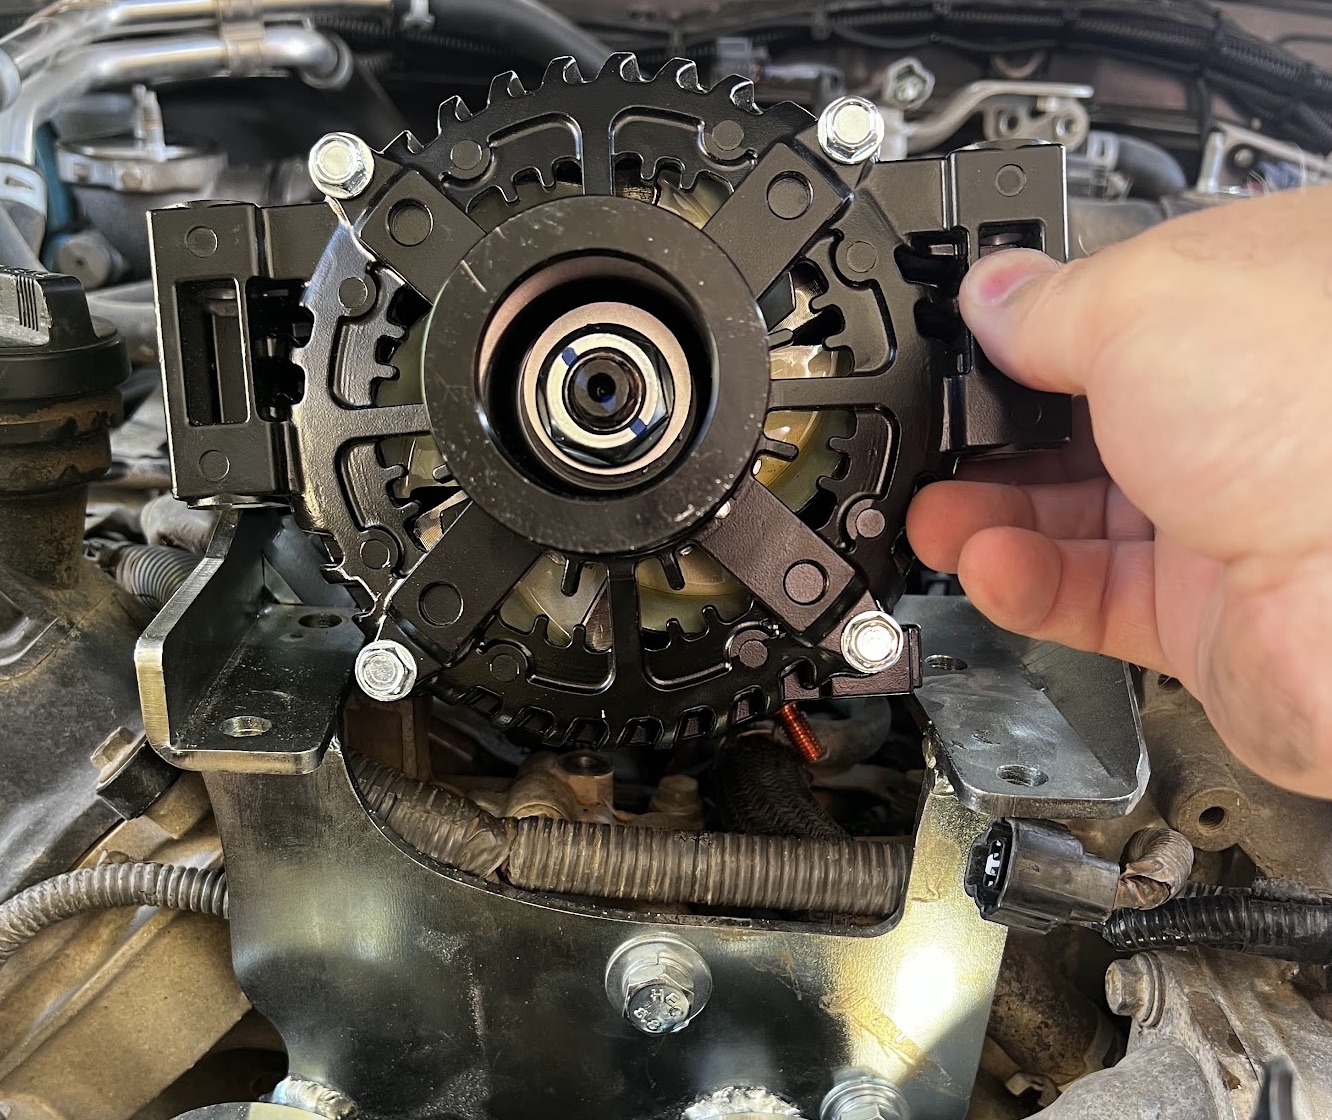
Open Engine Bay Alternator Bracket Installed Alternator Bracket Installed Tight Fit Alternator Modification 1 Alternator Modification 2 Alternator Modification 3 Alternator Fitting Test
Day 2 - Getting the fuselink prepped for the cable run
With the big cable run that is required to ensure there will be no voltage drops, it was needed to prepare the cable run and connections. First step would be to terminate the cable in the engine bay to a fuselink. Then run the longer cable run to the canopy.